1. Go to your Xero account to set up tracking categories.
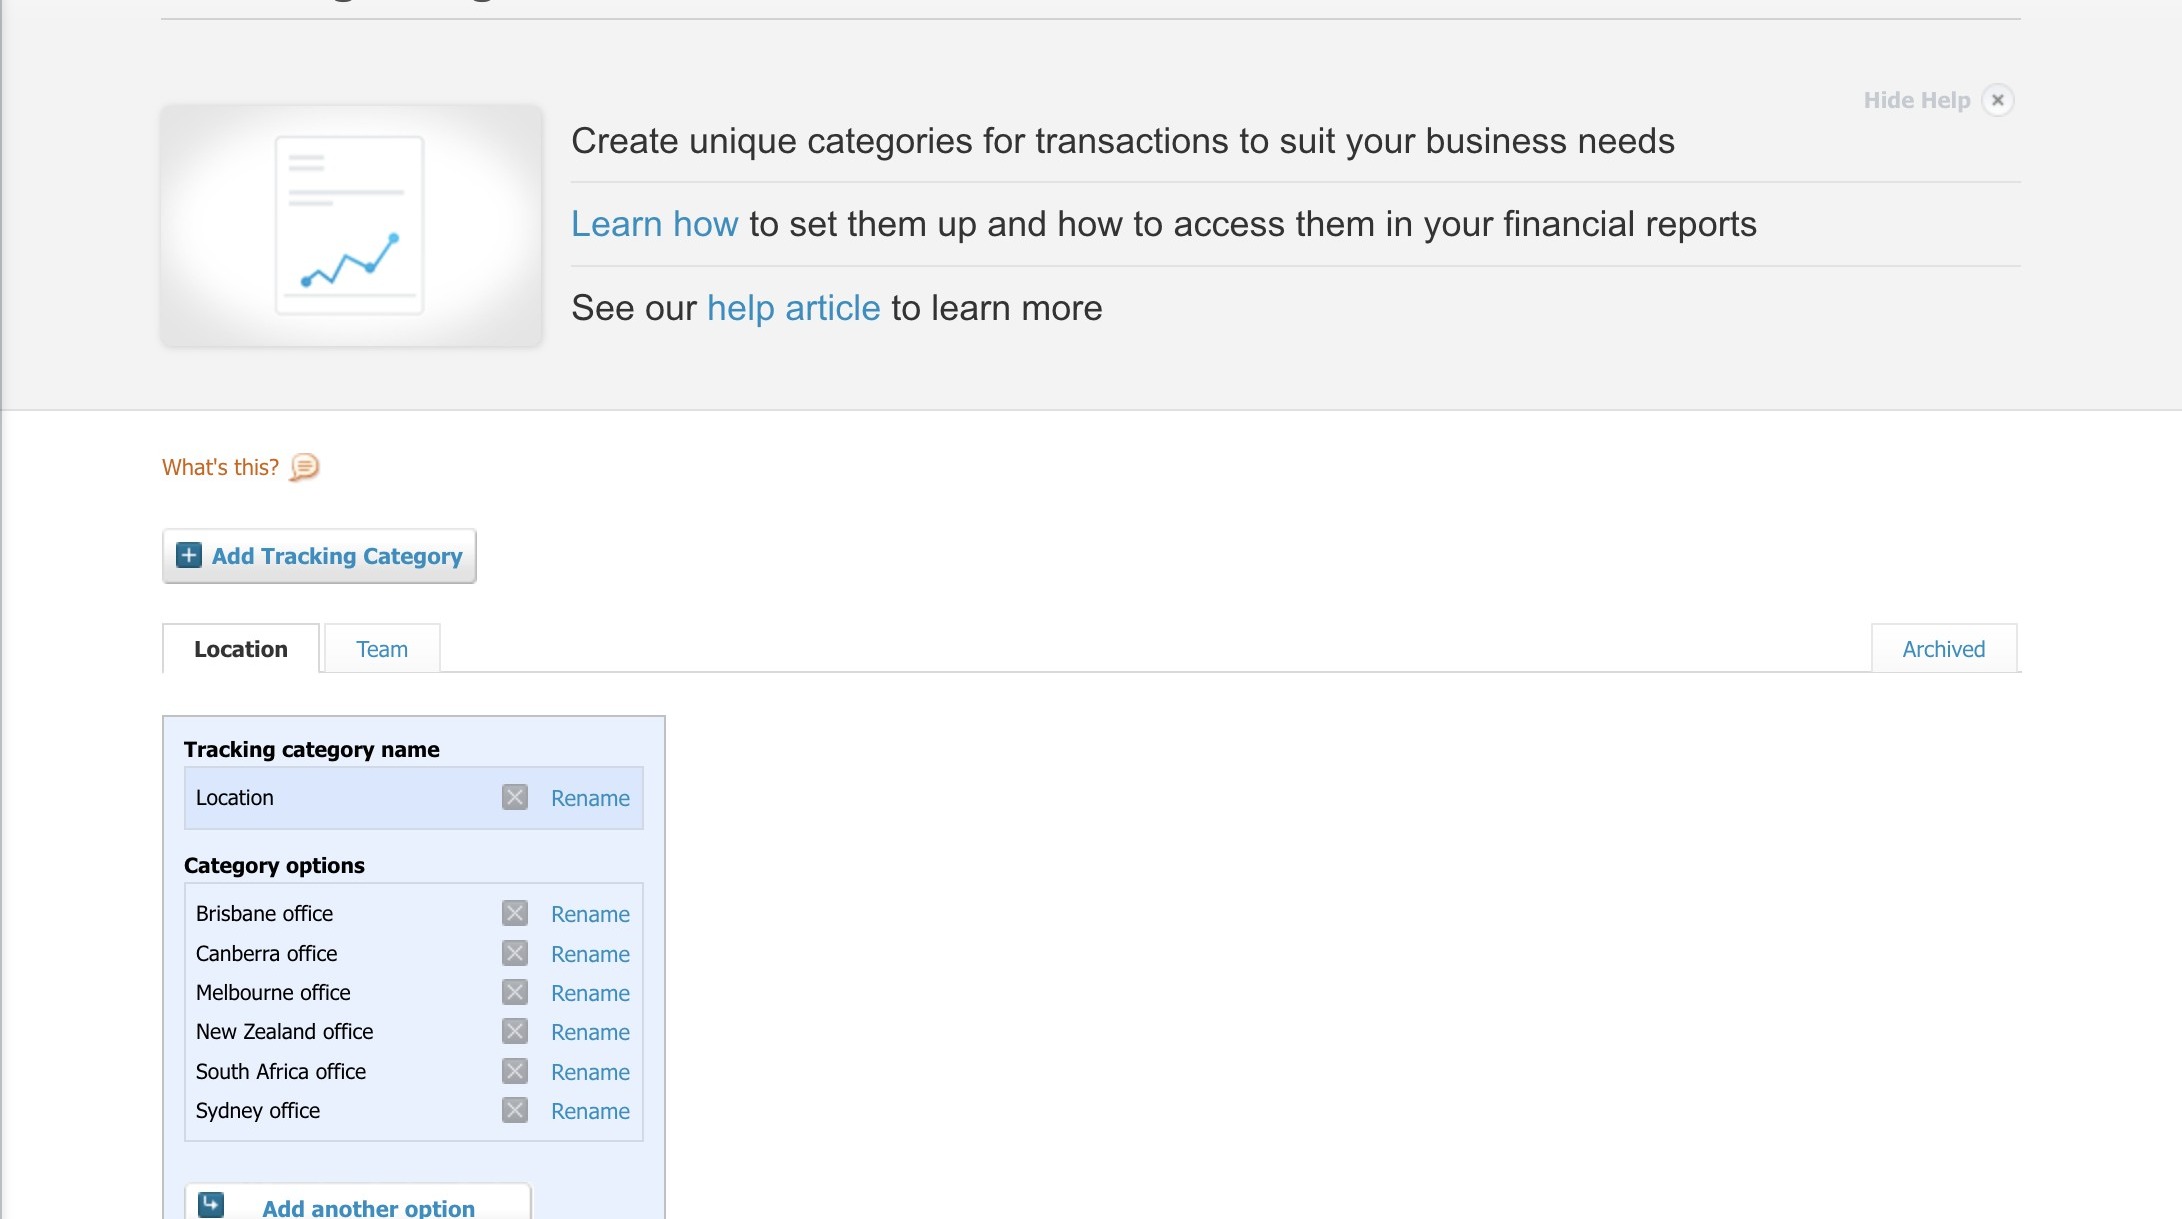
2. Click Add Tracking Category and add category options. For example, Location and Team are tracking categories with various options within each category.

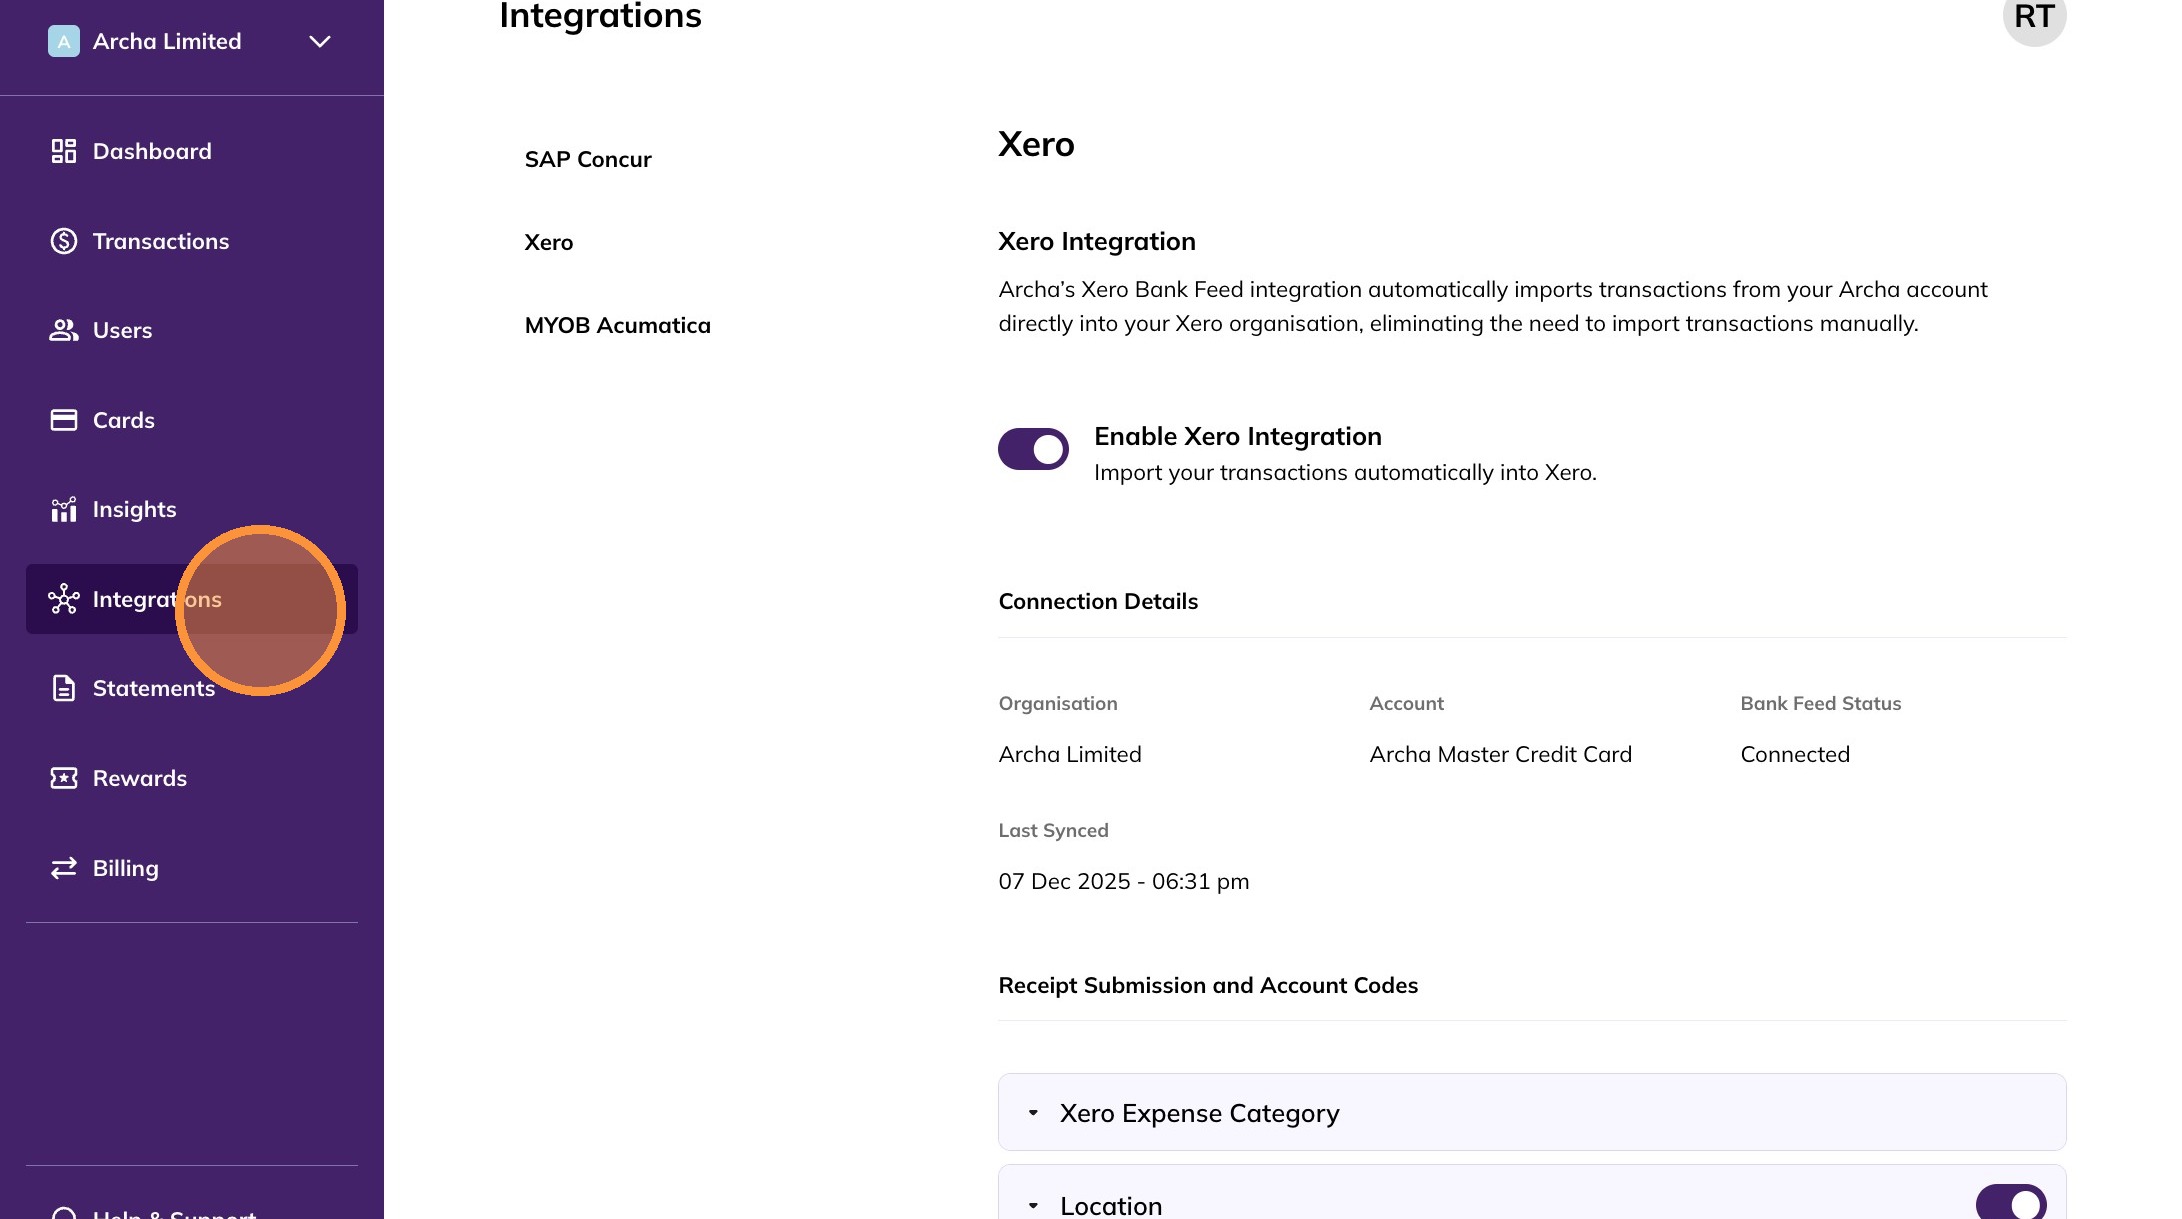
3. Navigate to your Archa app and click on Integrations.
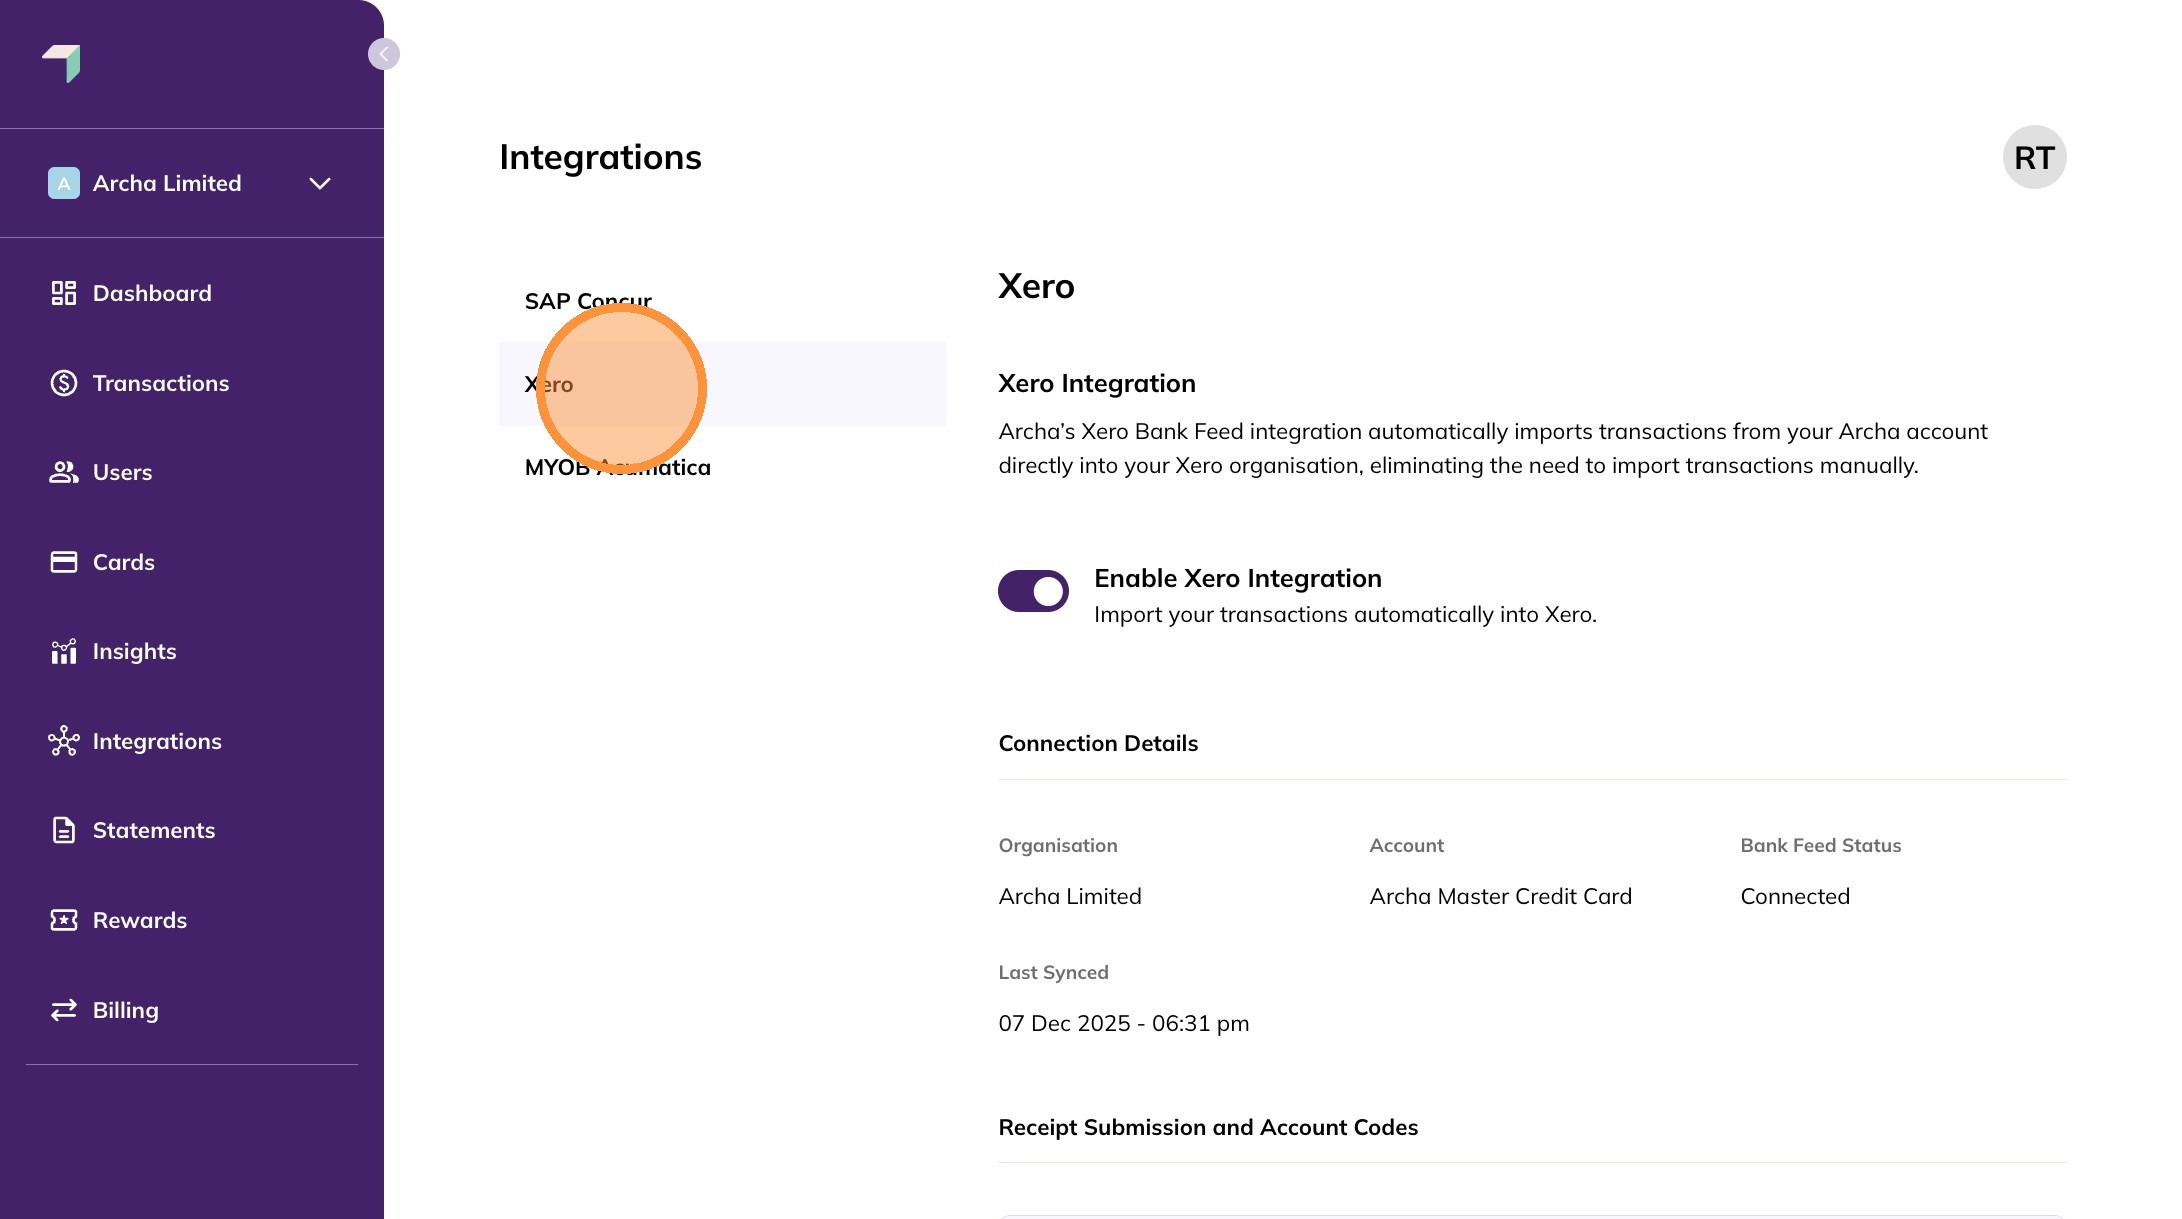
4. Click on Xero from the integration options.
5. Once the Xero integration is set up, Xero Tracking Categories are automatically fetched along with Xero Expense Categories.
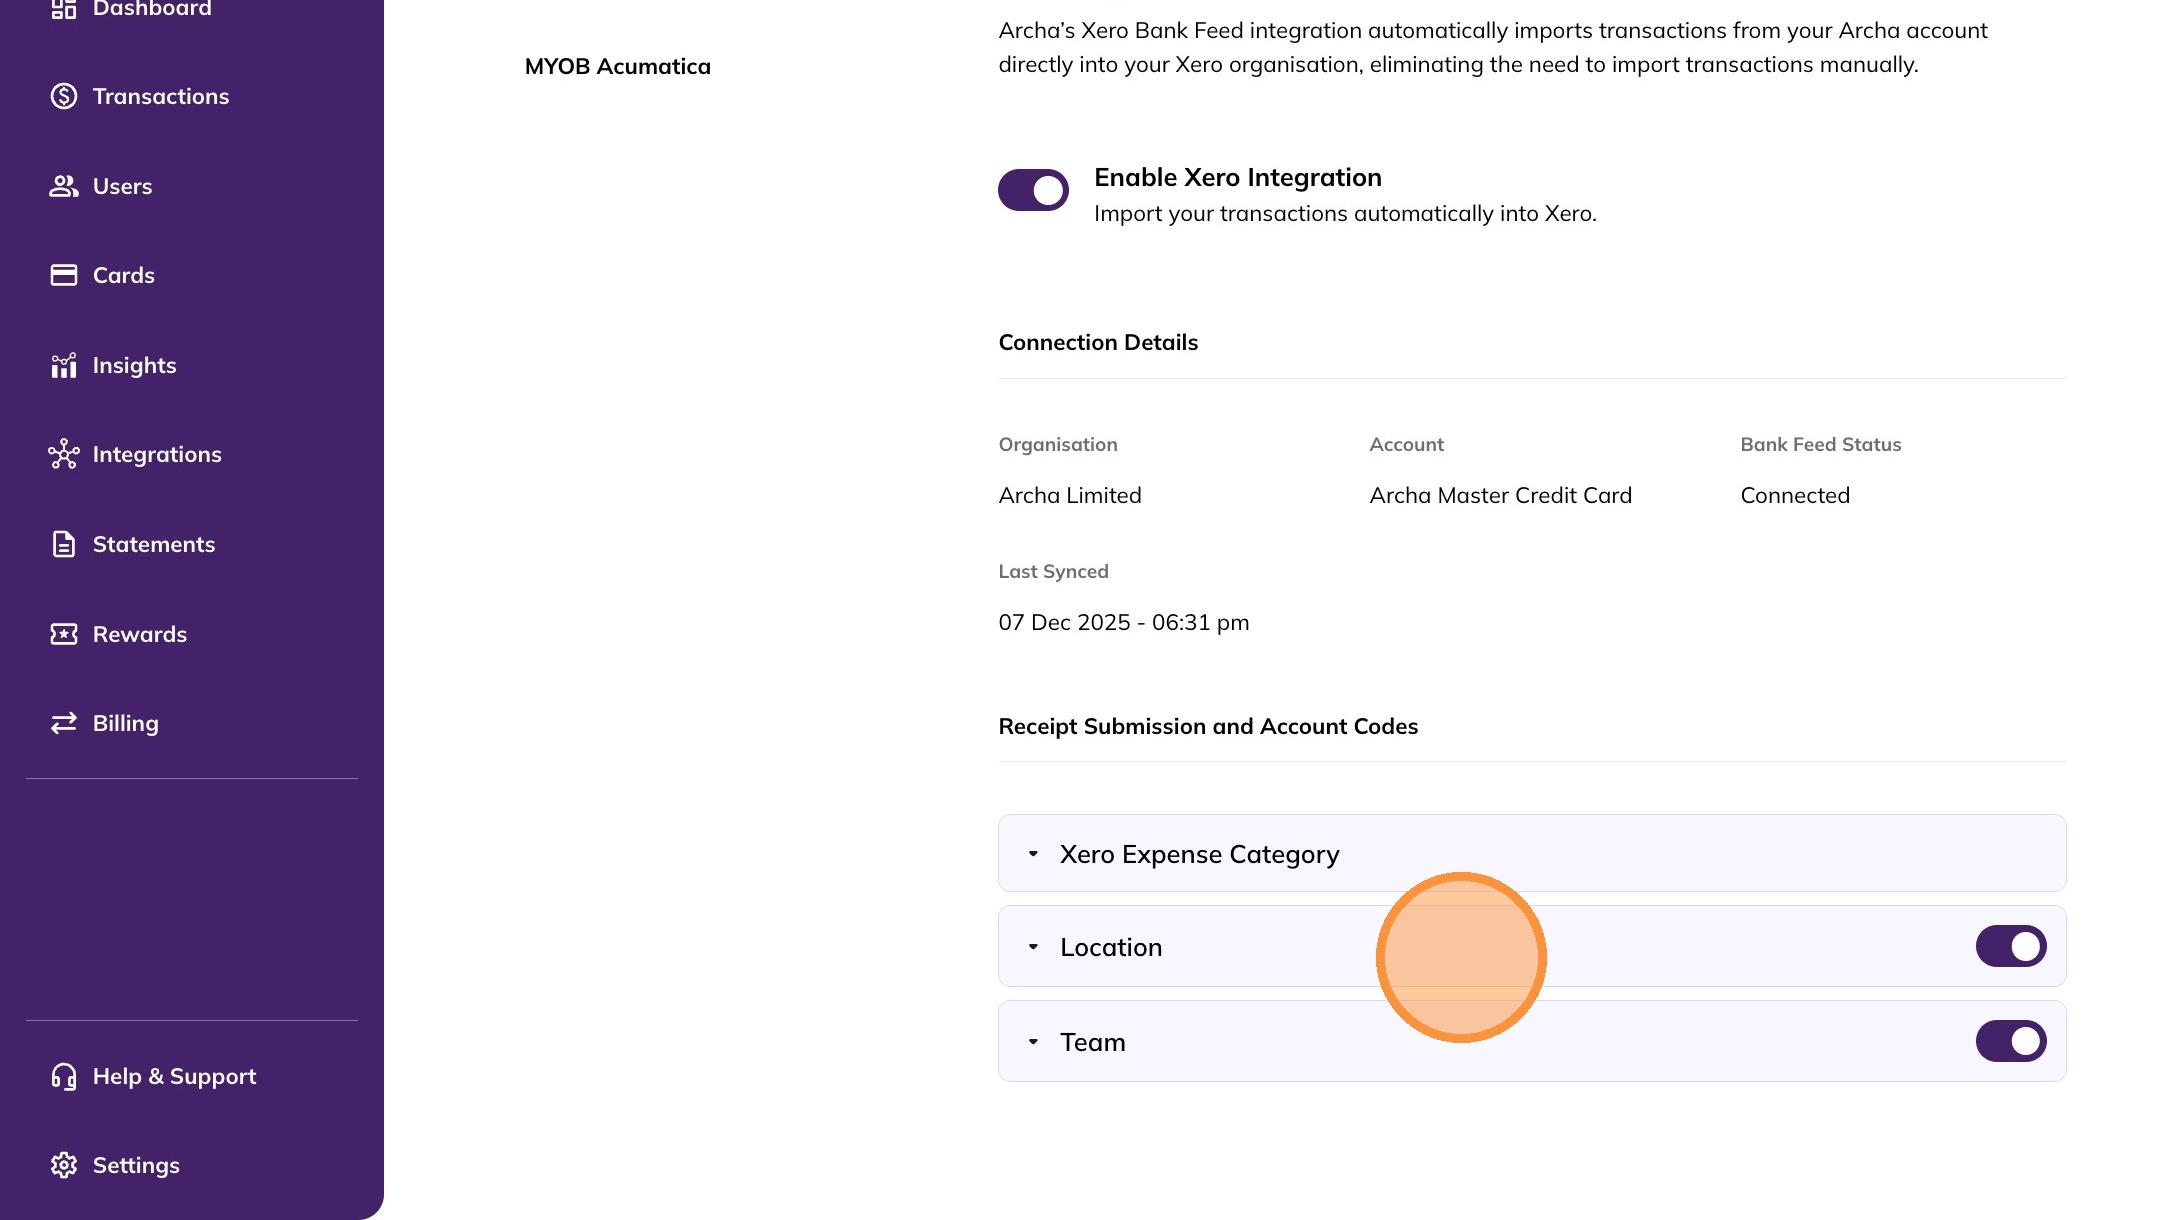
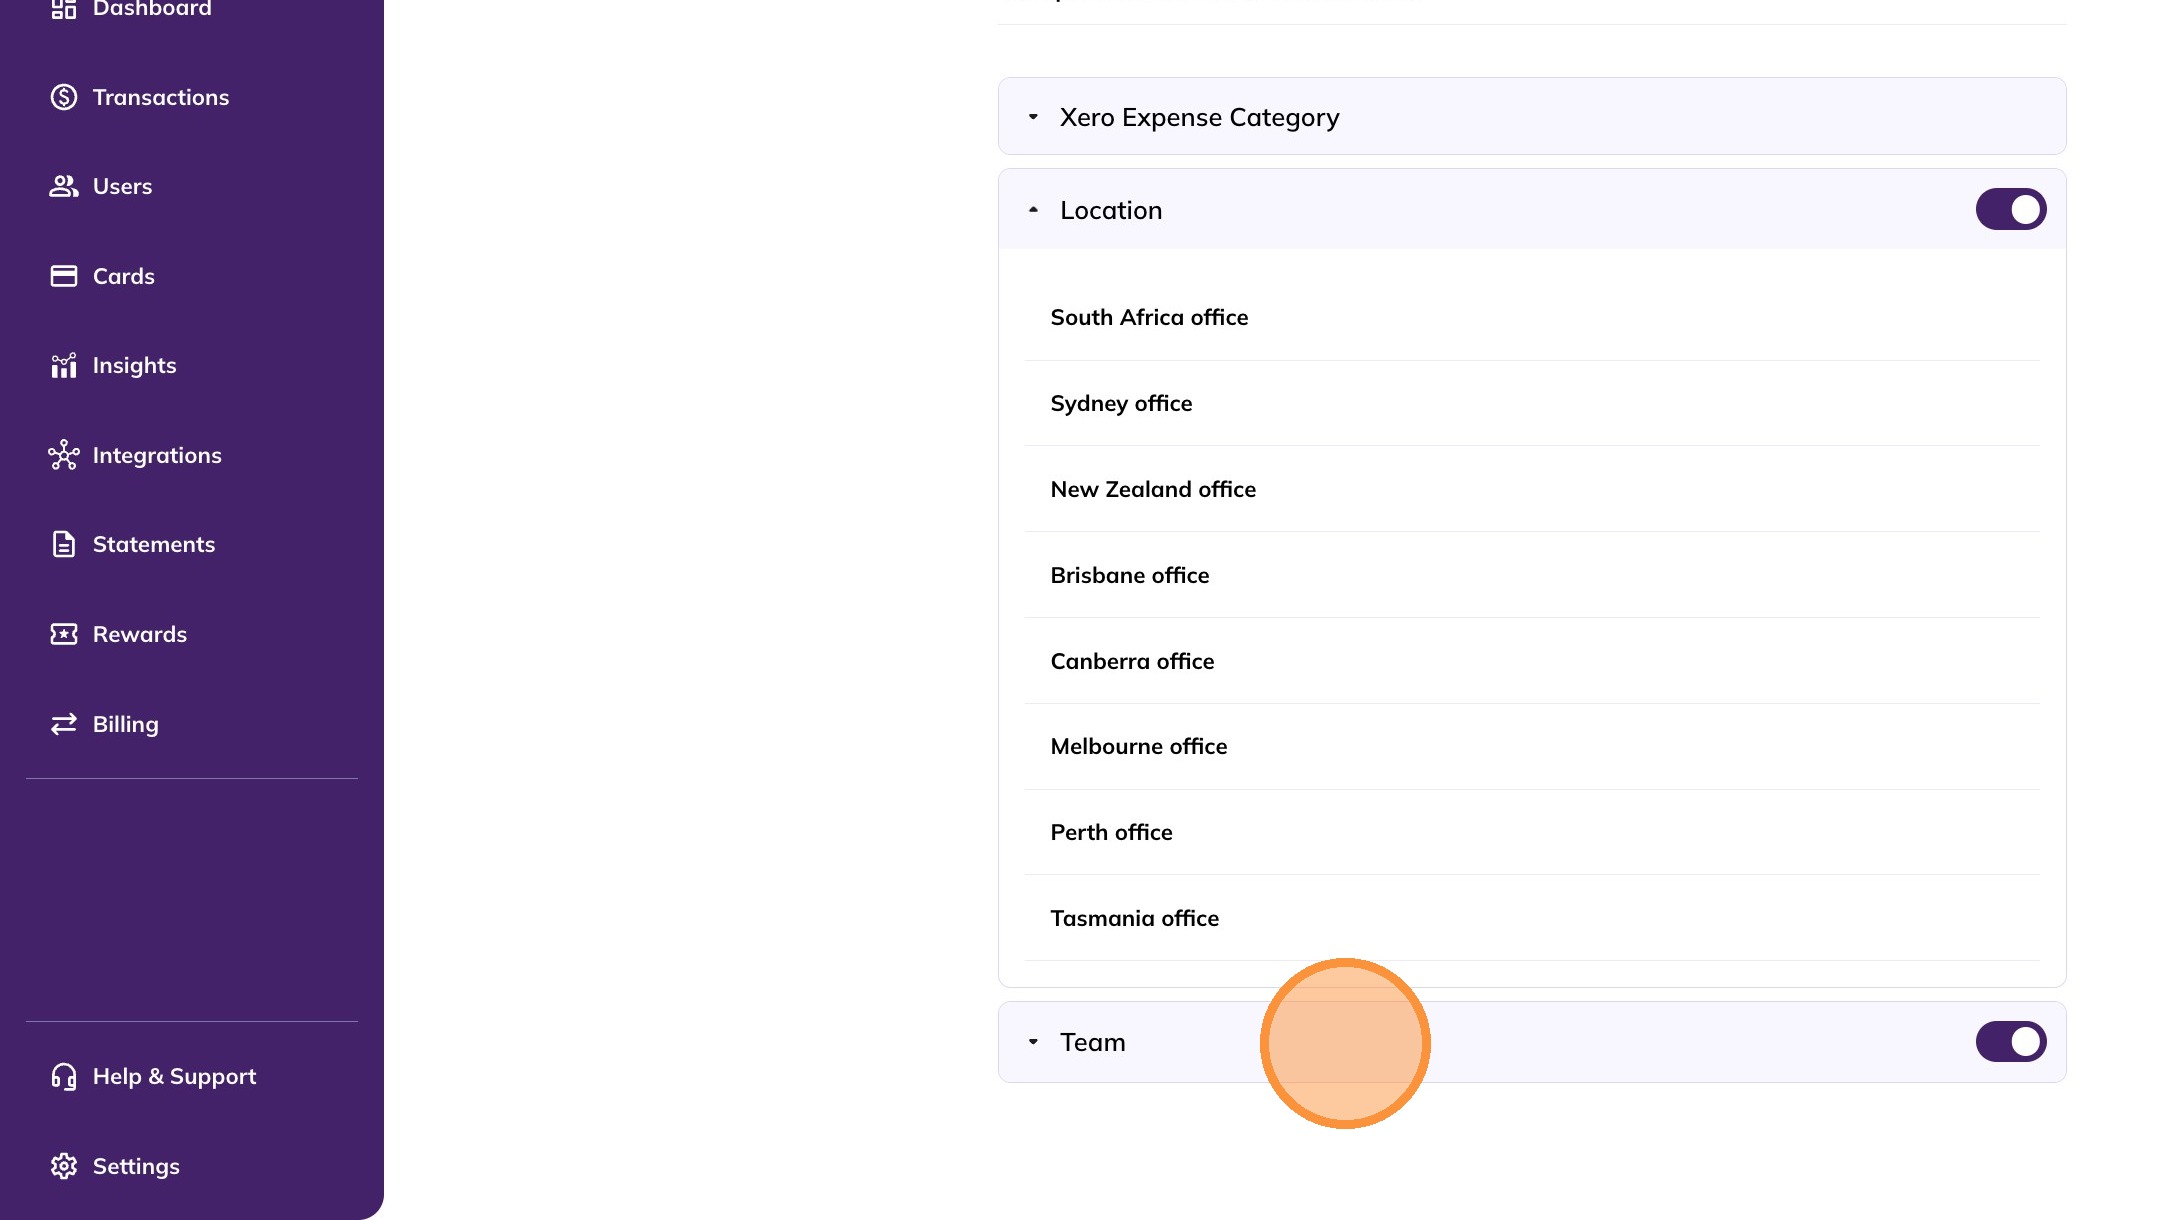
6. By default, all tracking categories are enabled. You can enable or disable a Xero Tracking Category using the toggle.
If disabled, it will not appear as an option when uploading receipts.
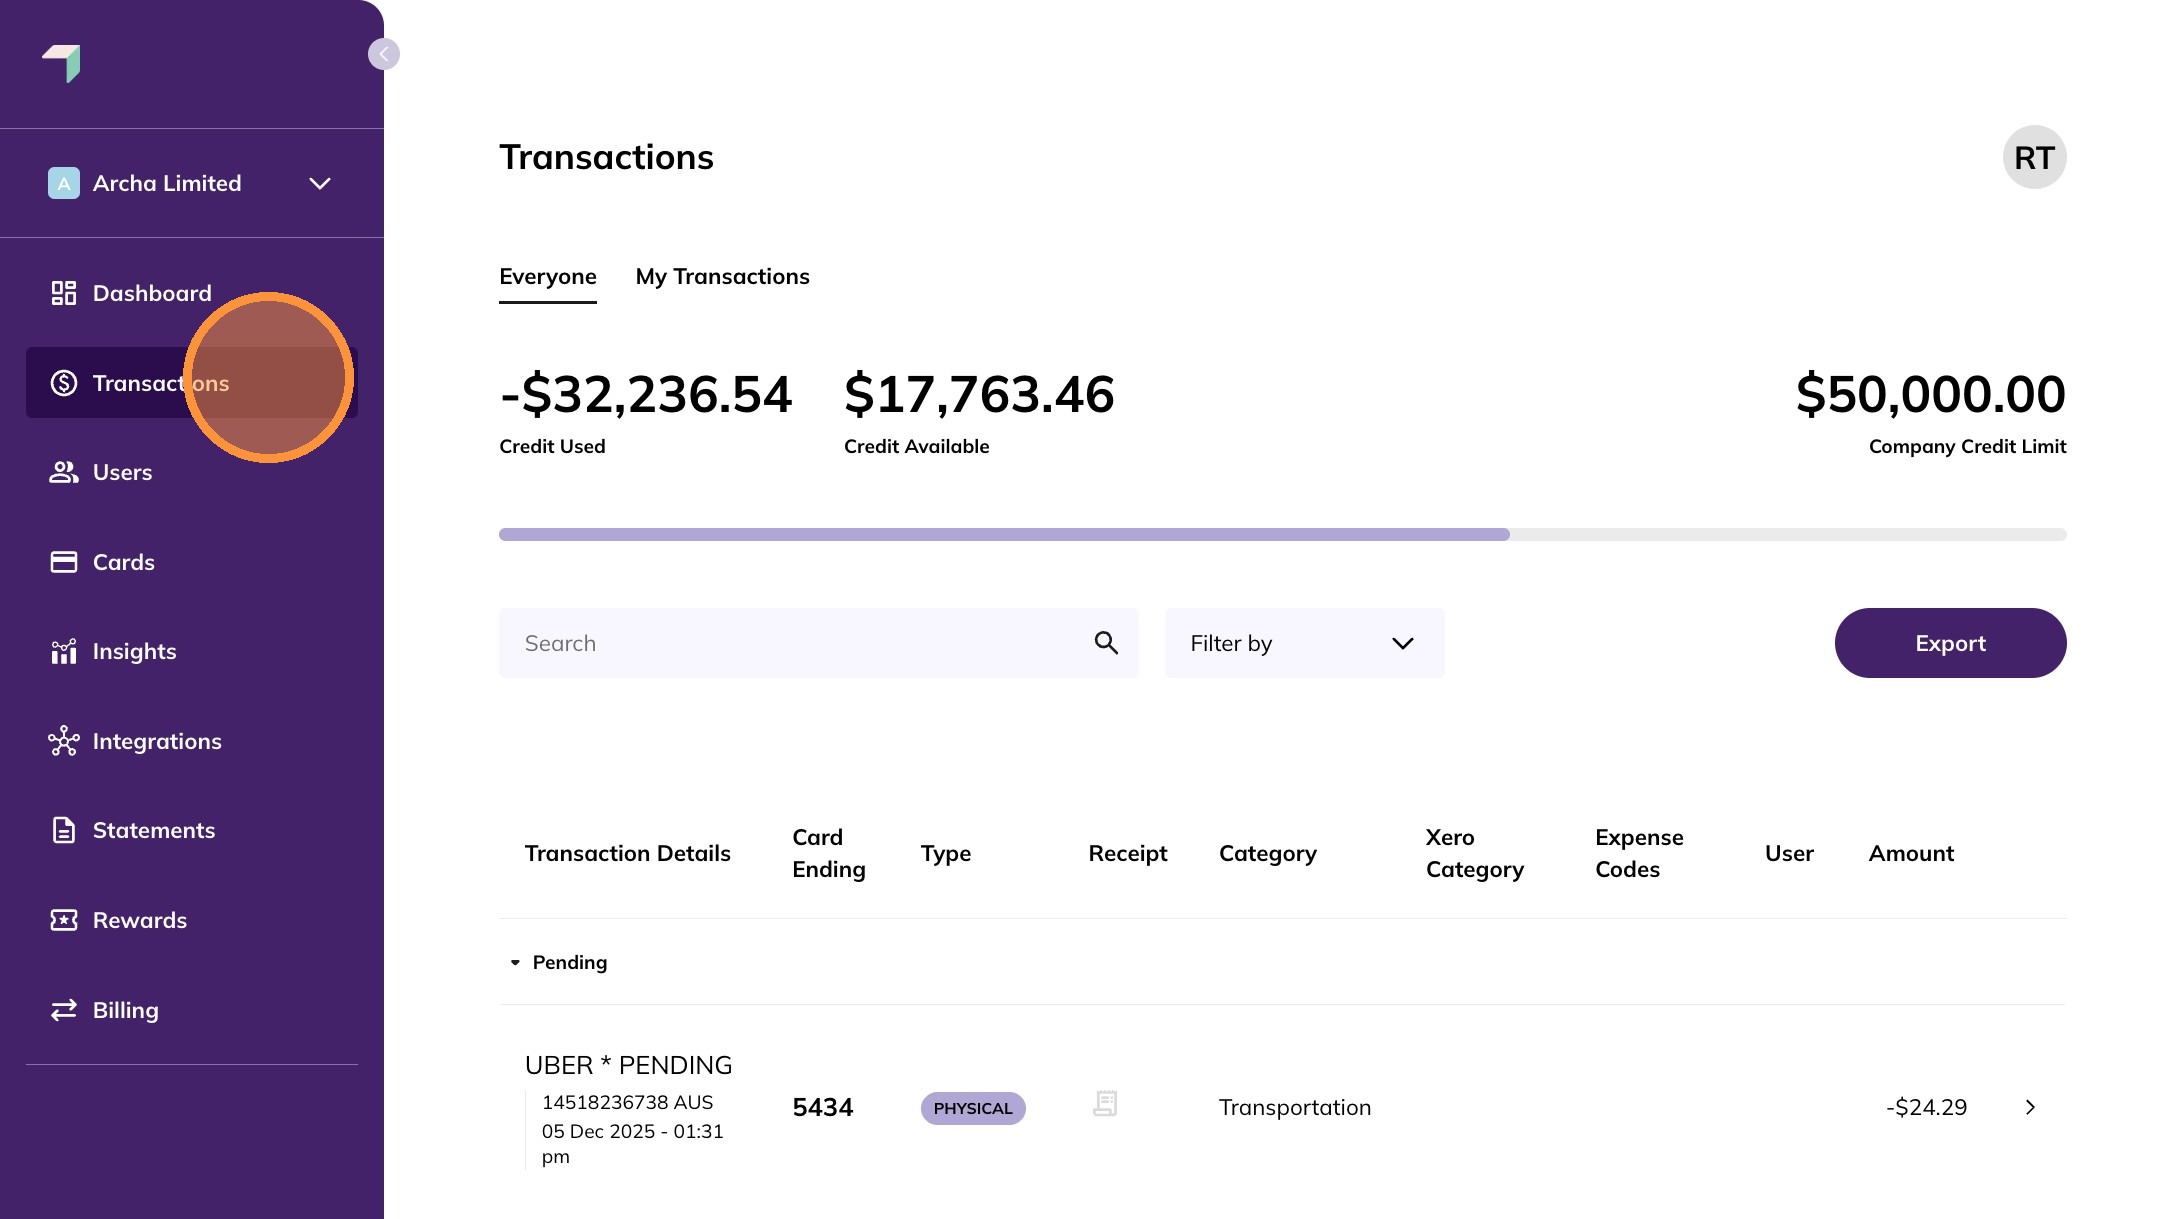
7. Navigate to the Transactions tab and select the transaction you want to submit a receipt for.
8. Use the dropdowns to select the Xero Expense and Tracking Categories.
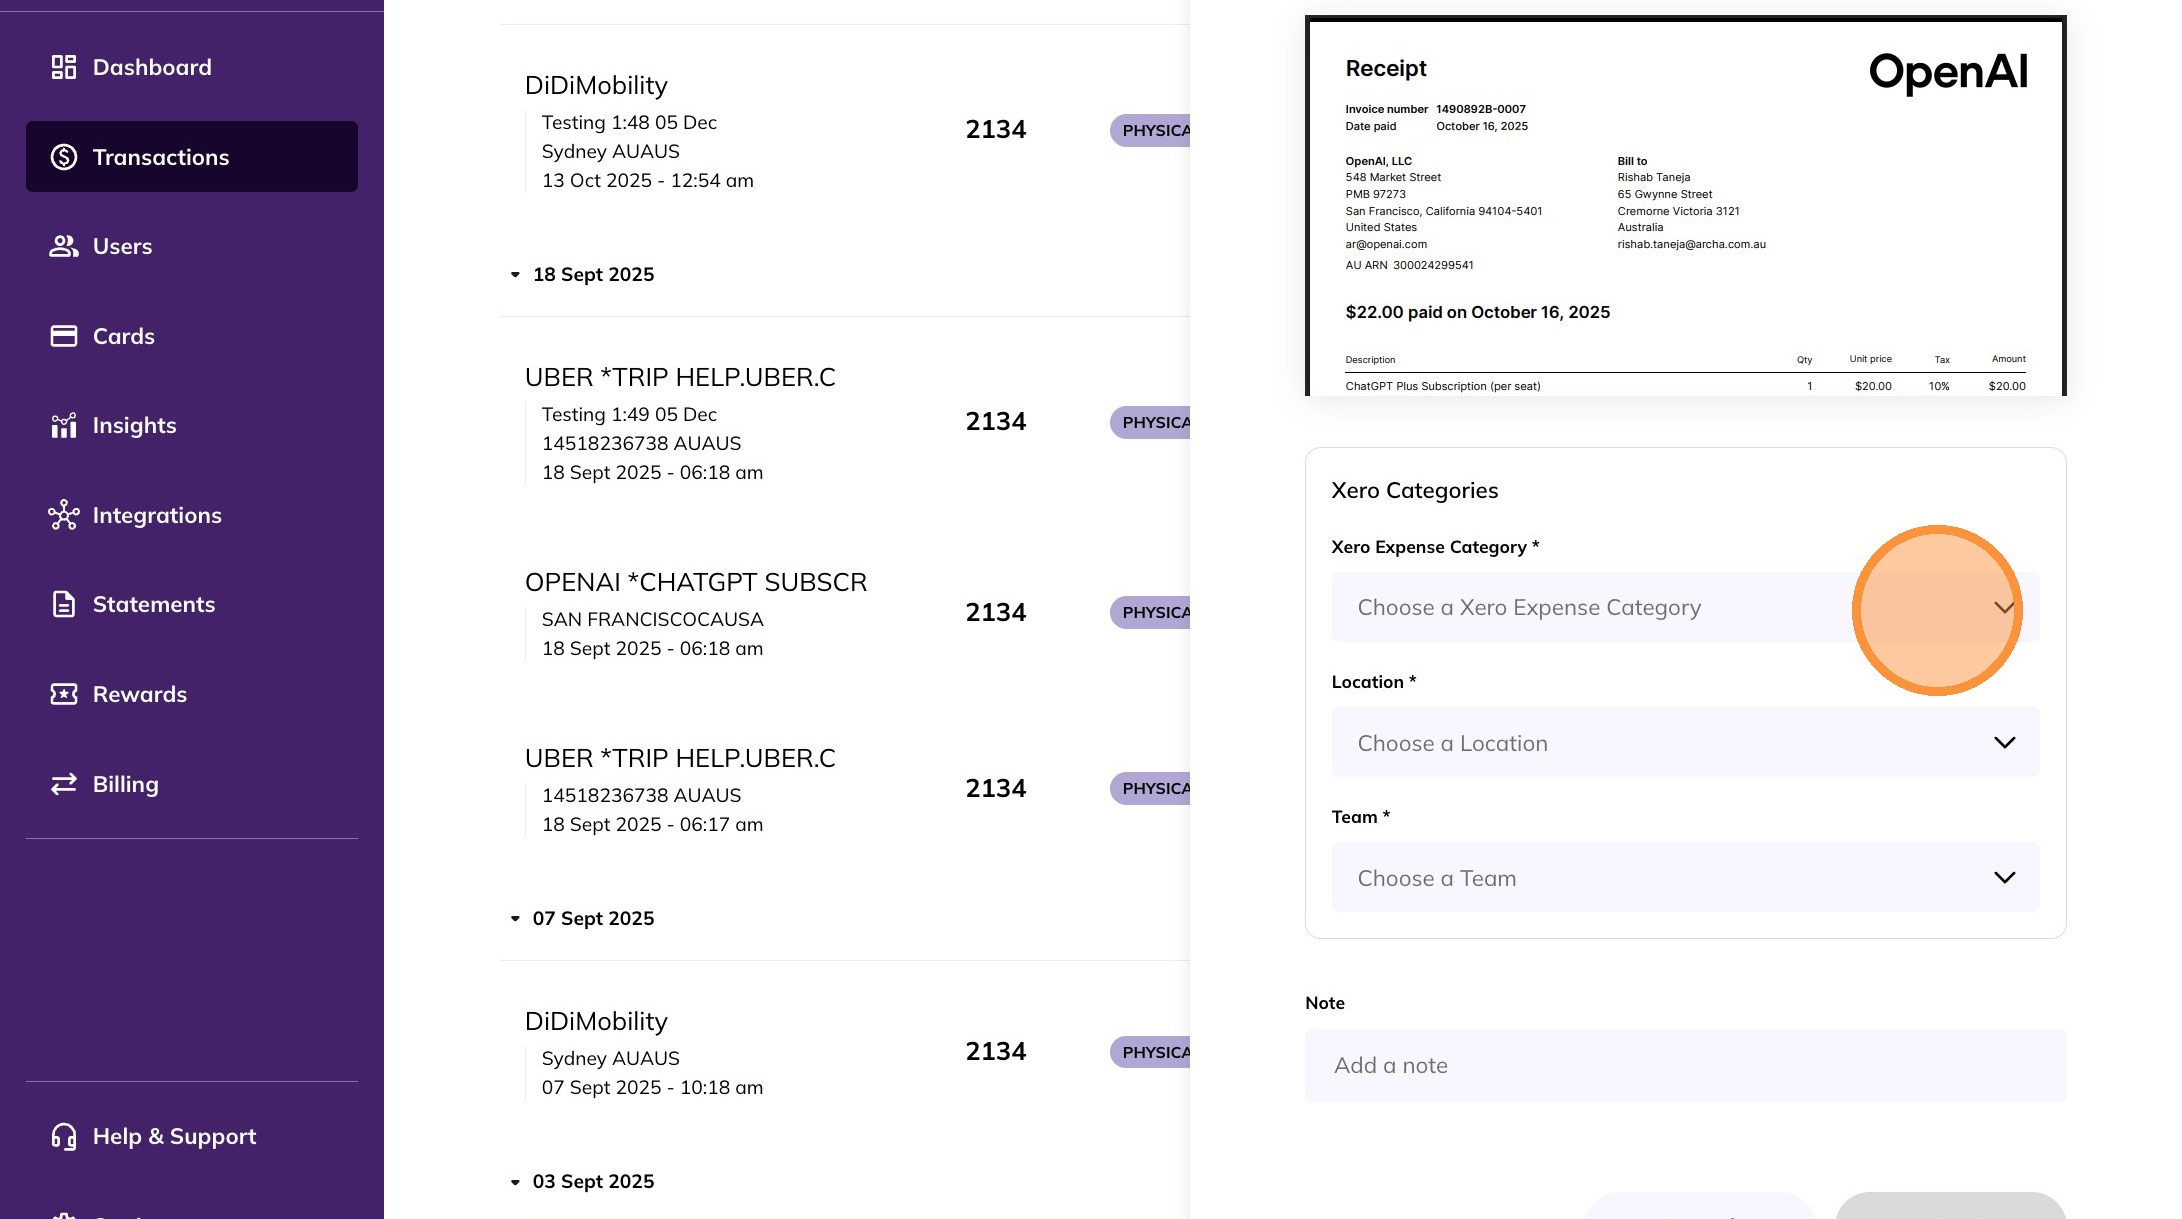
9. Select the appropriate Xero Expense and Tracking Categories. You can also type to search within the dropdown.

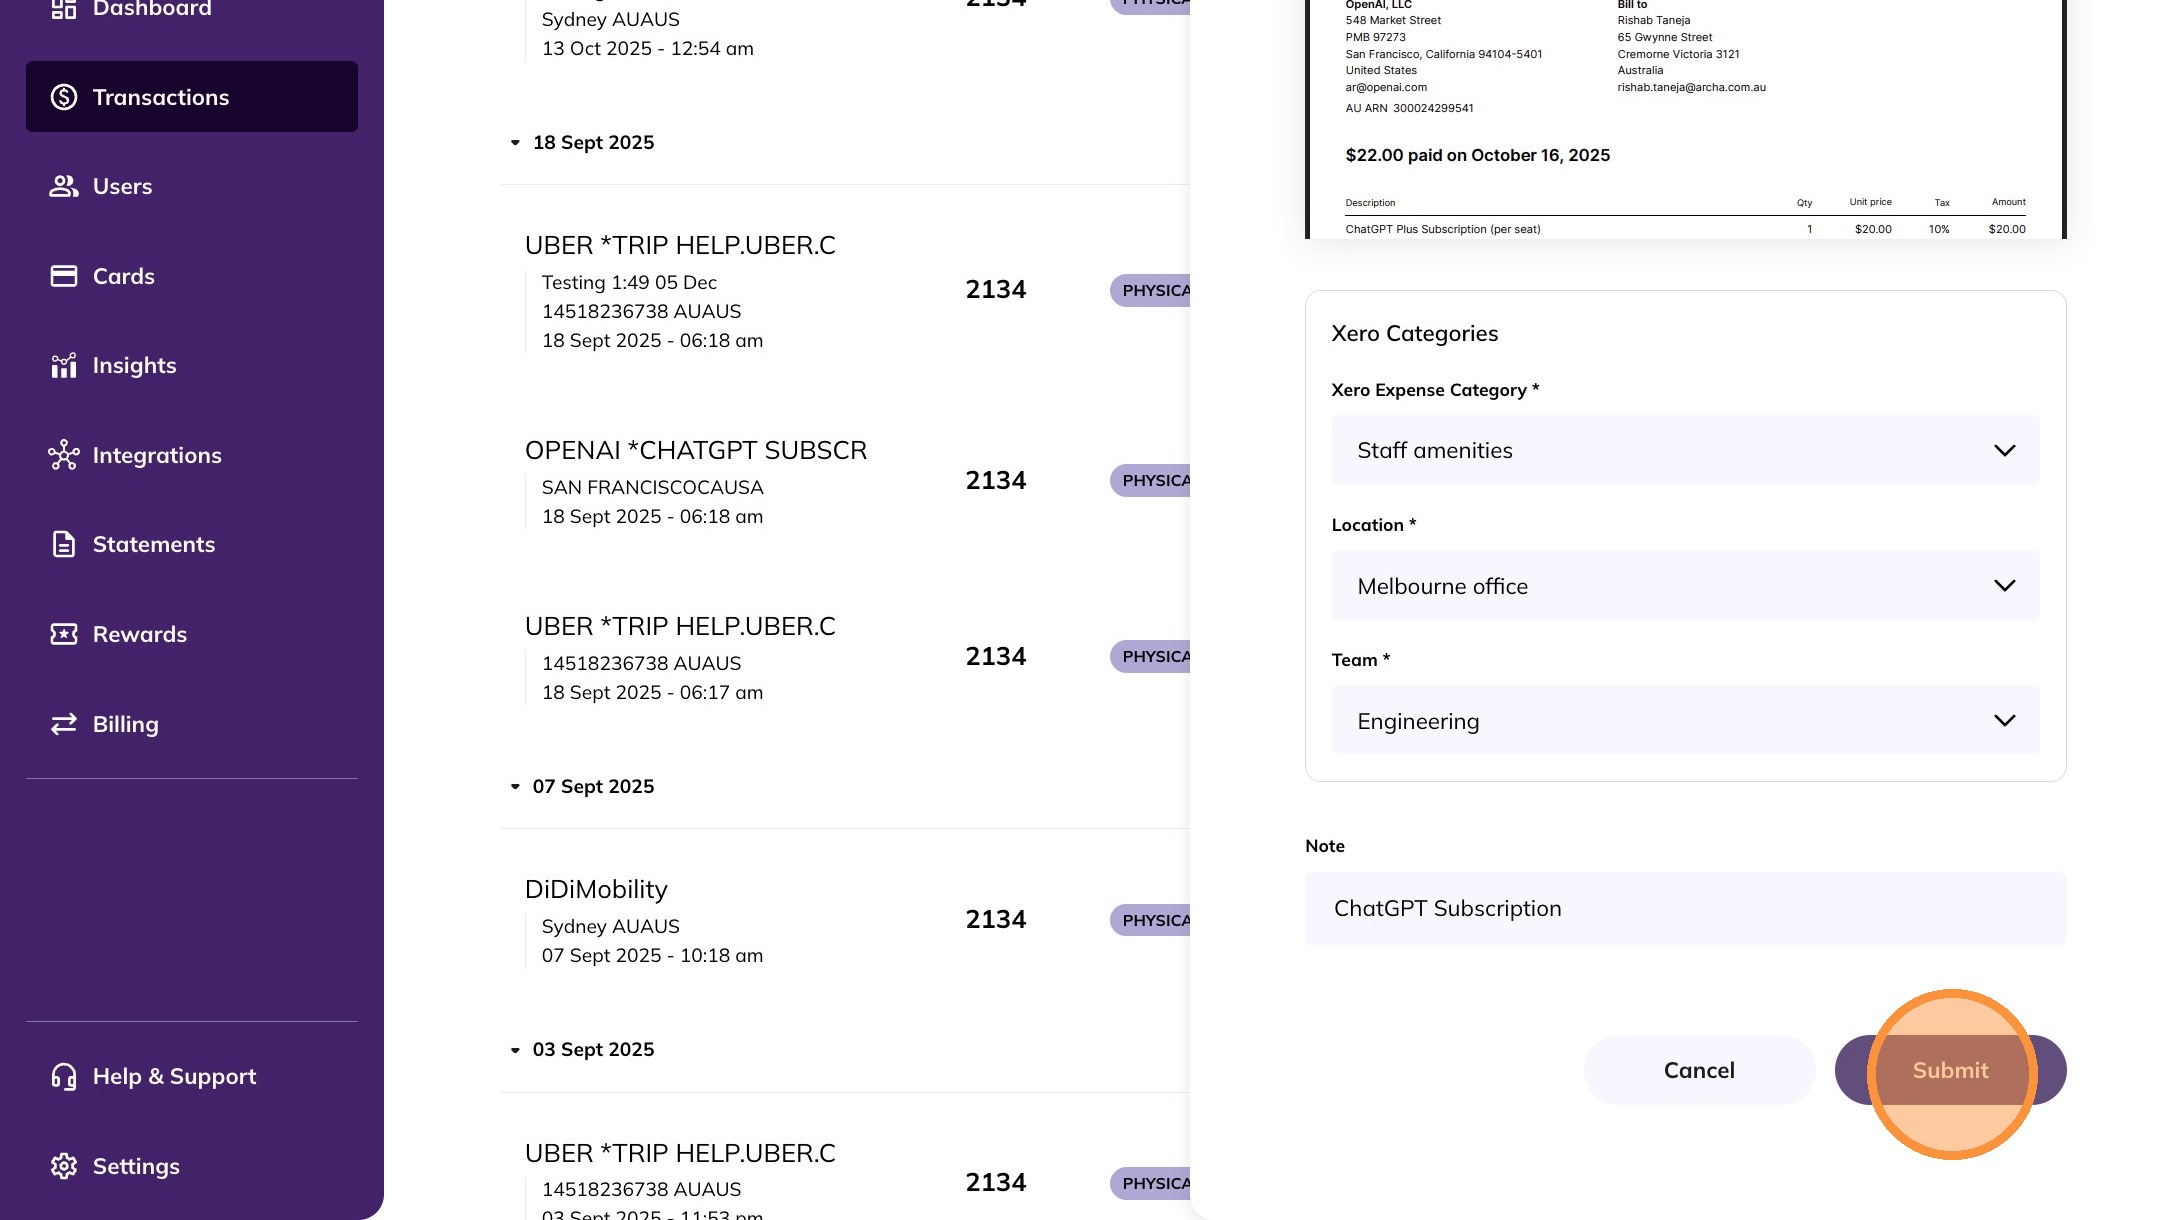
10. Click Submit to complete the receipt upload process.
11. The selected Xero Expense and Tracking Categories are shown in the transactions table.

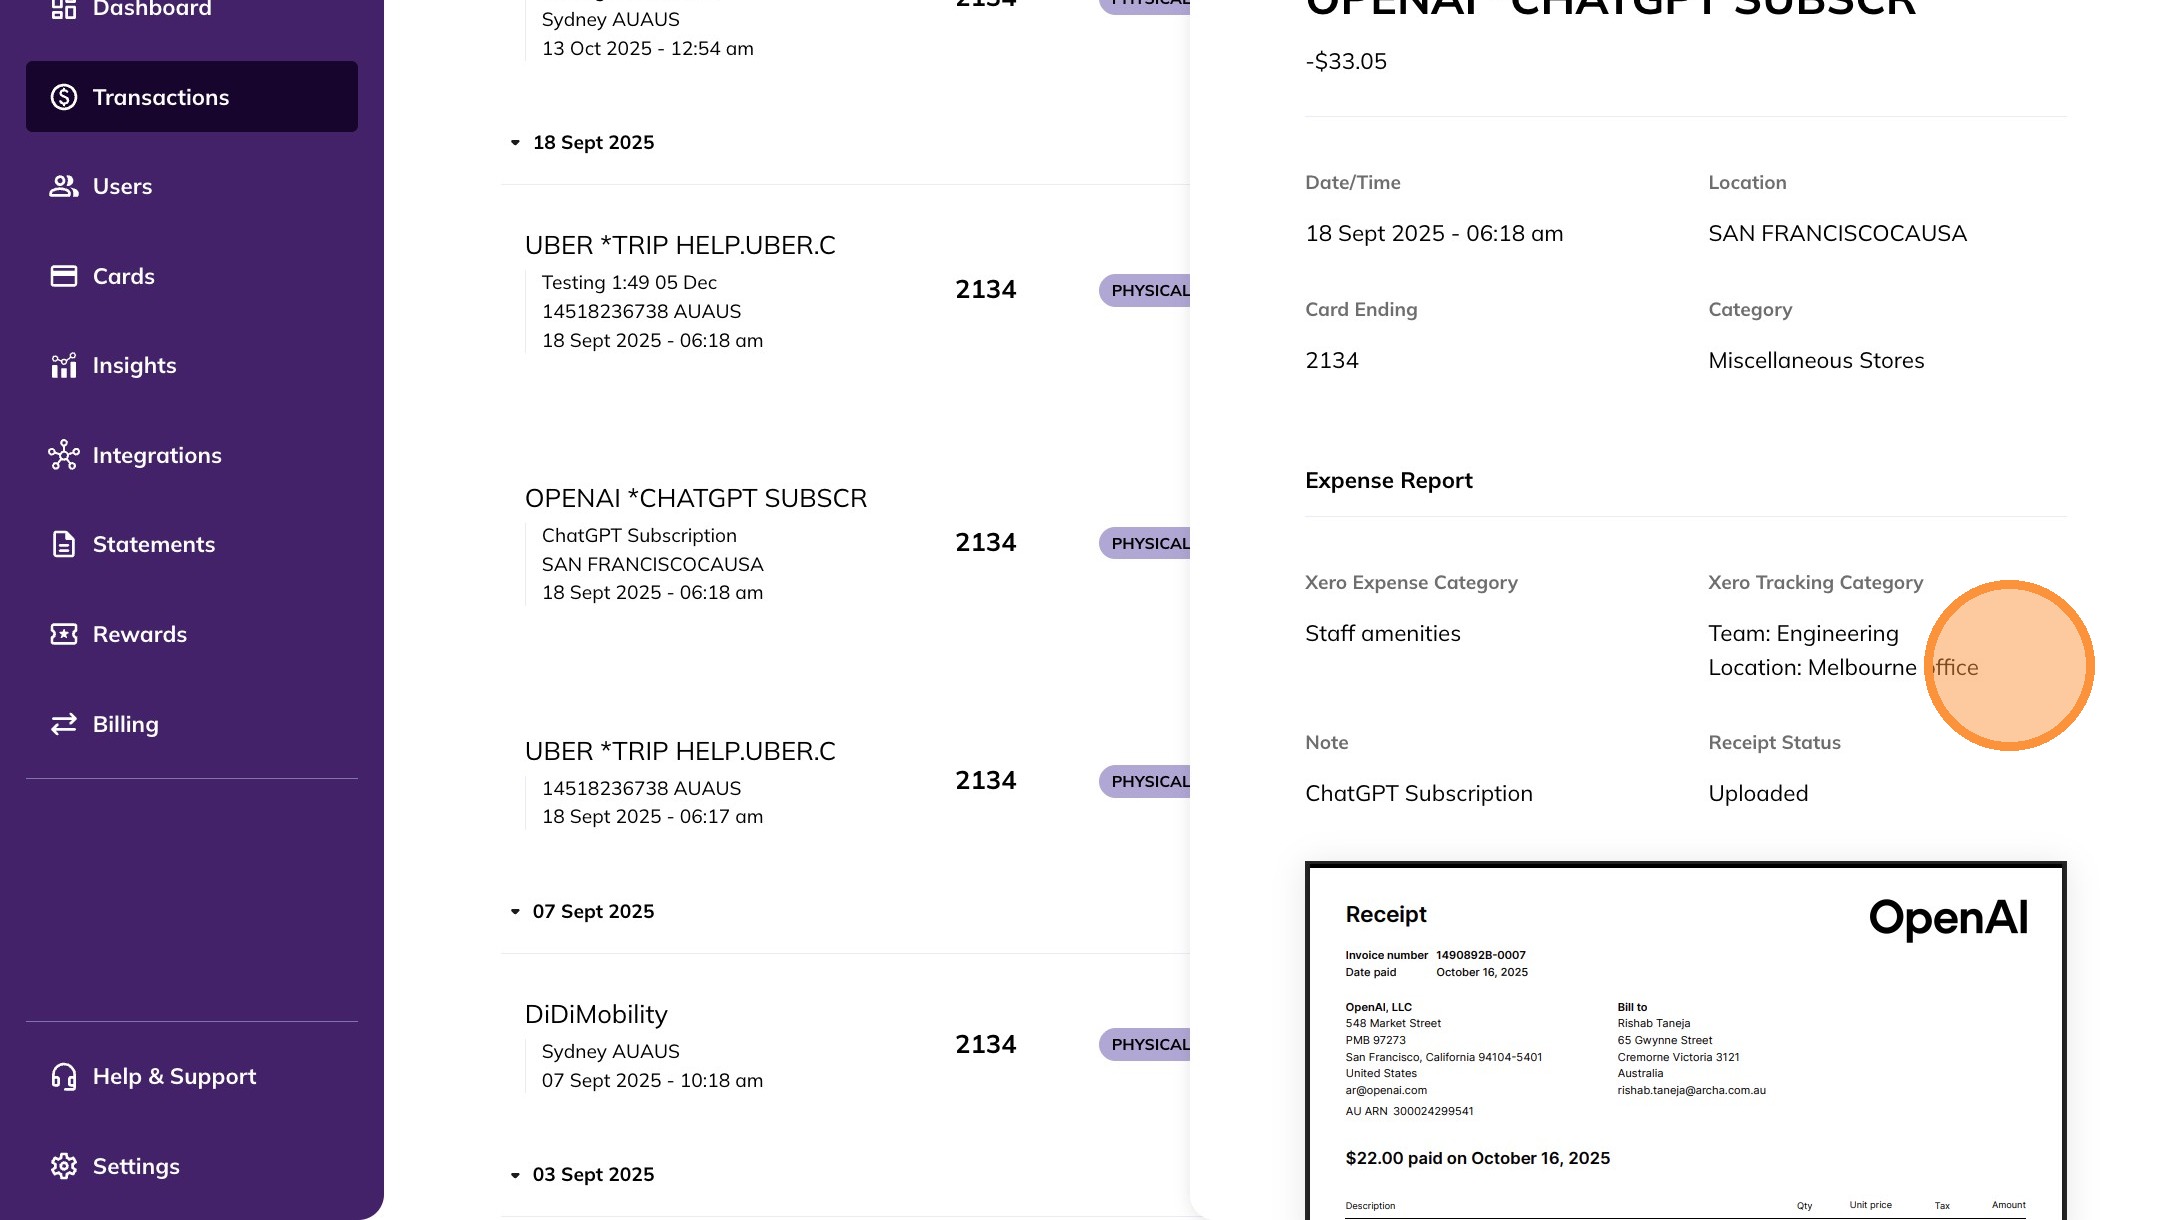
12. Selecting the transaction opens a detailed view showing the chosen Xero Expense and Tracking Categories.
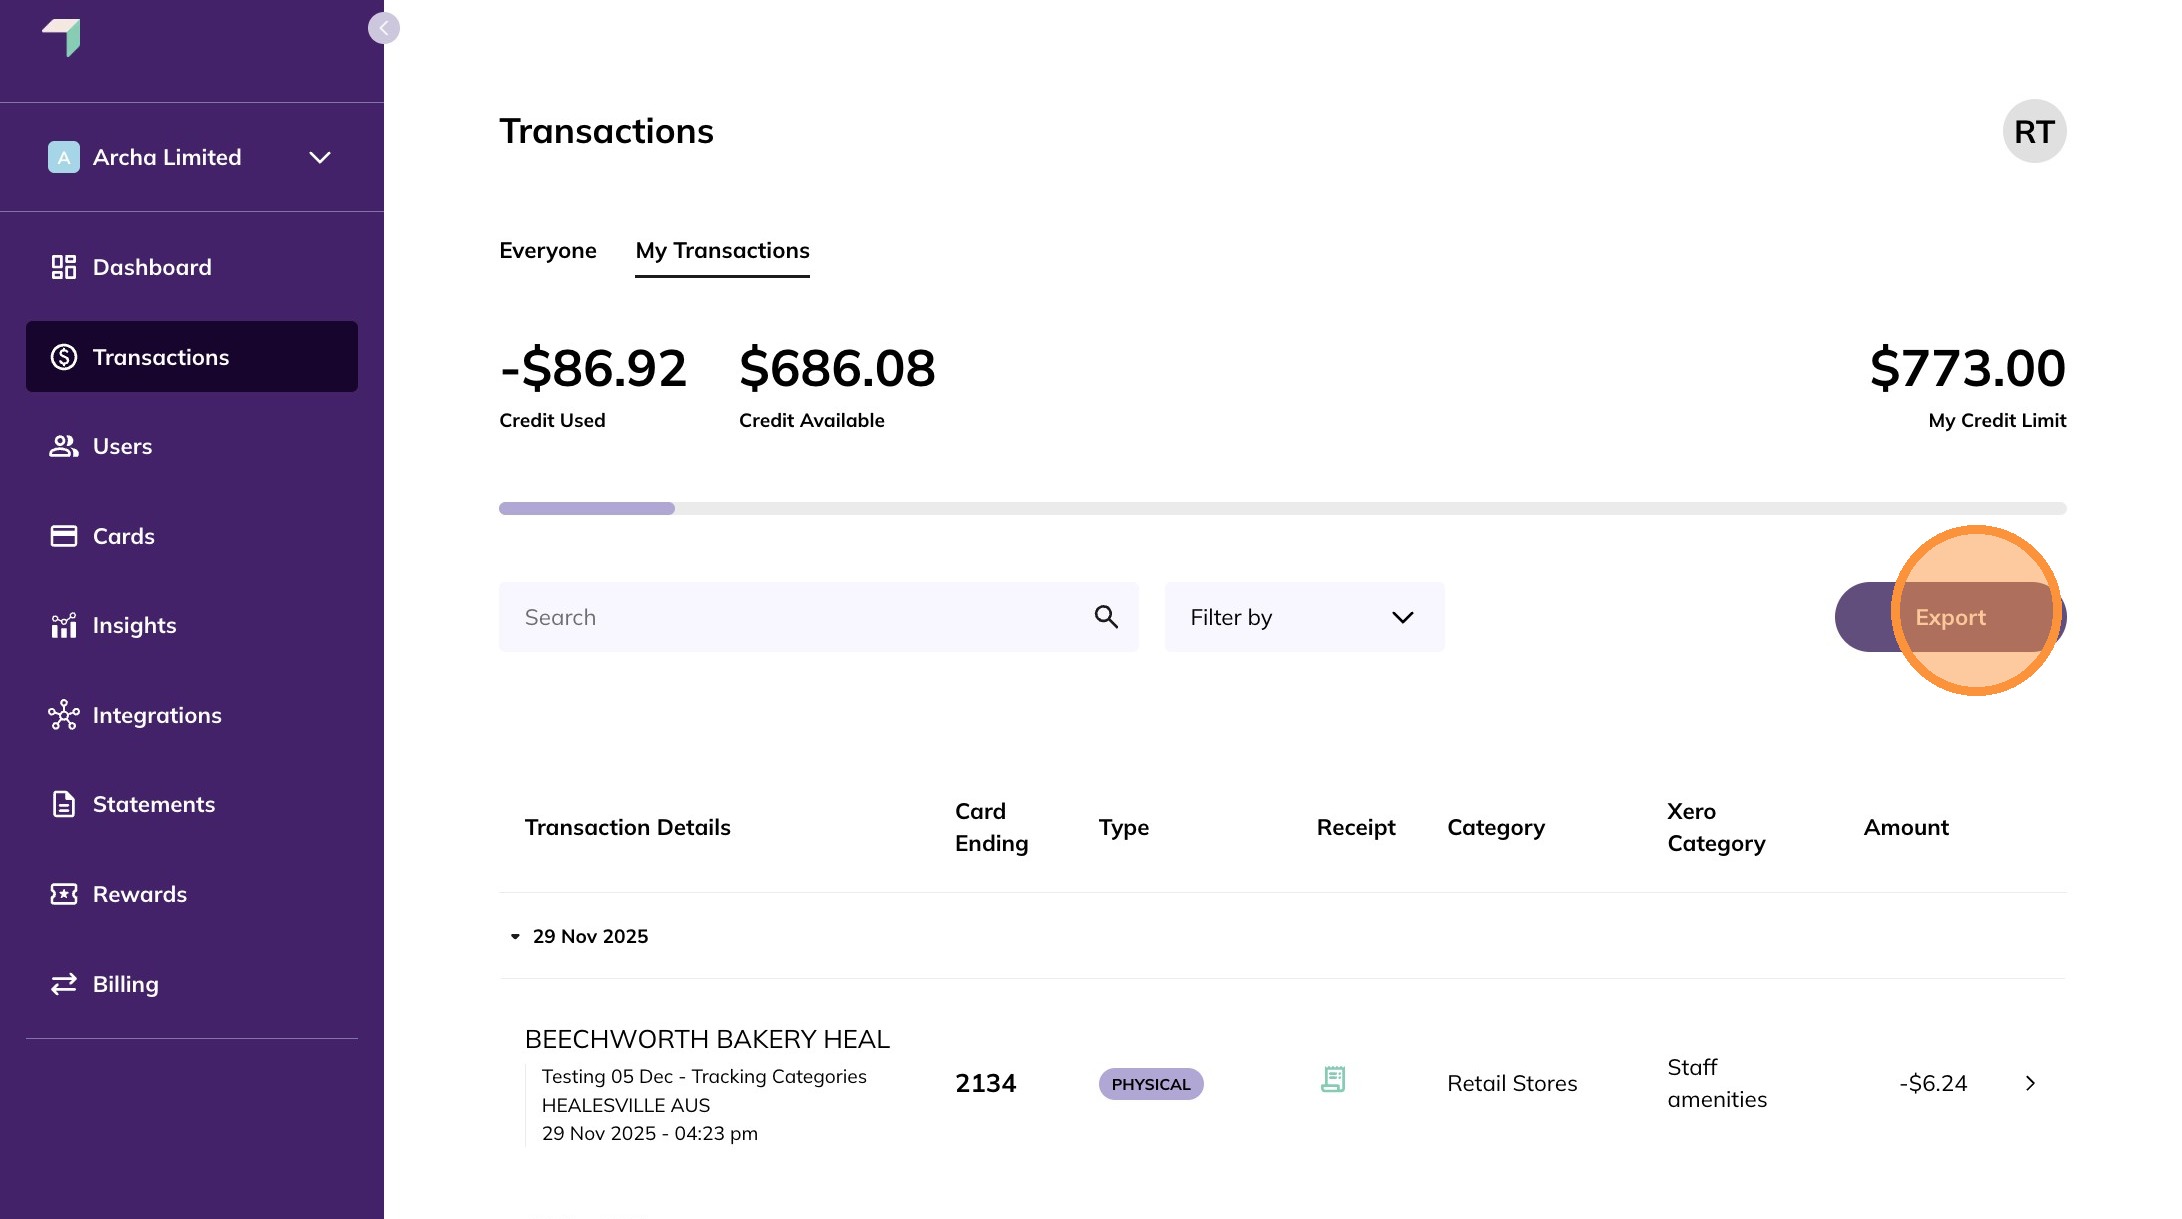
13. Xero Tracking Categories are also included in CSV exports.
To export transactions, click Export and select a date range.
14. The exported CSV includes the Xero Tracking Categories (highlighted).
